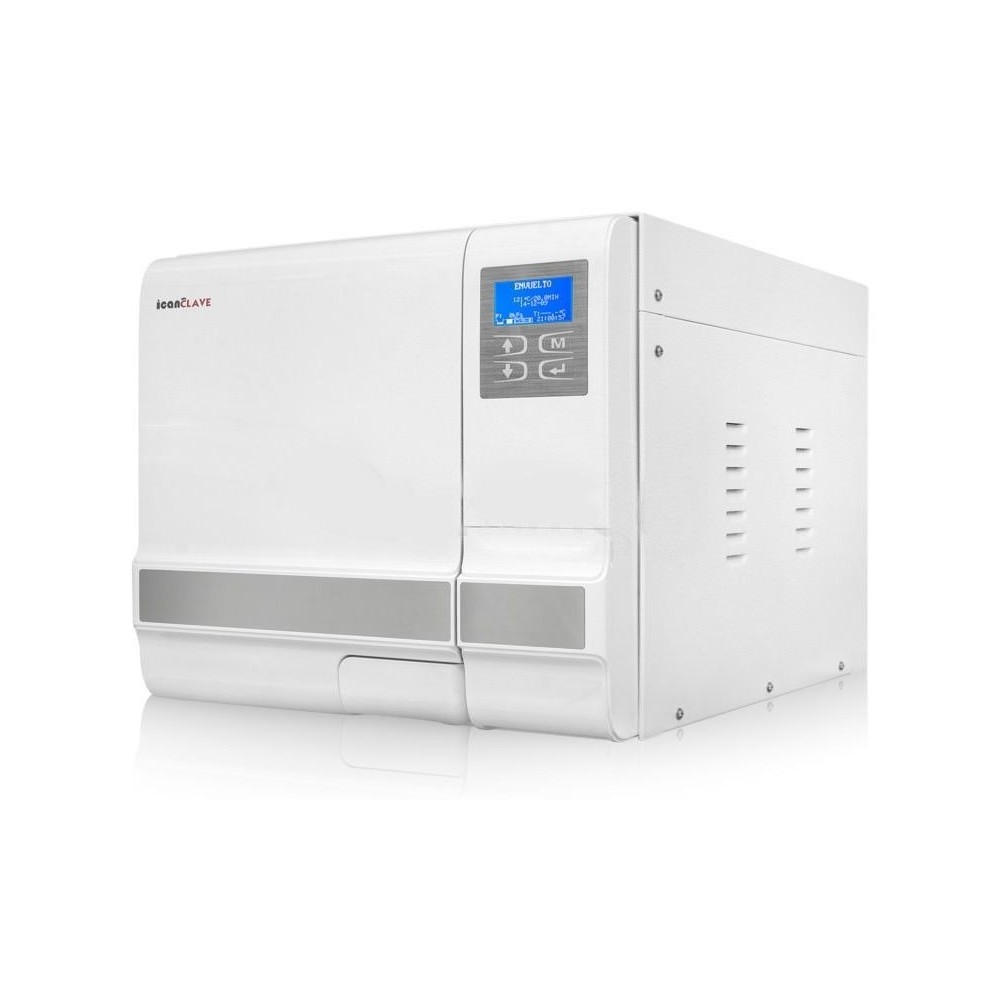
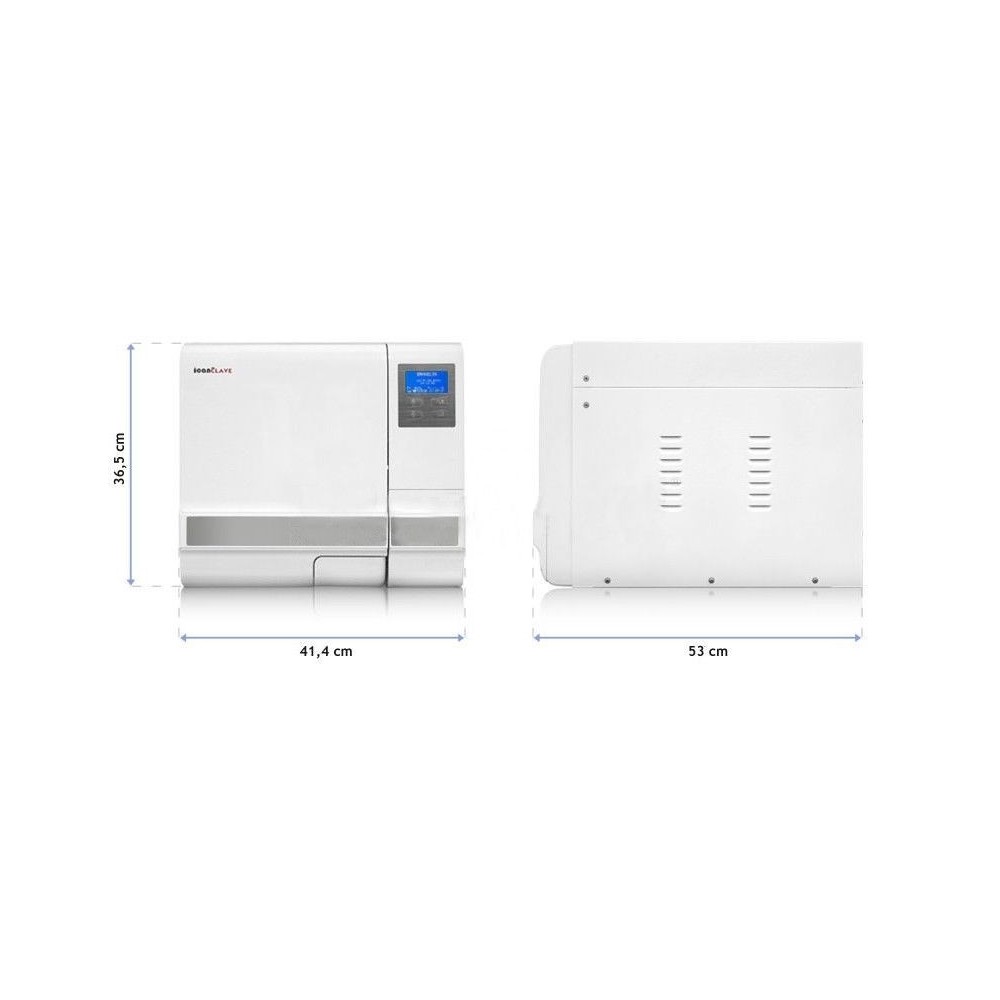
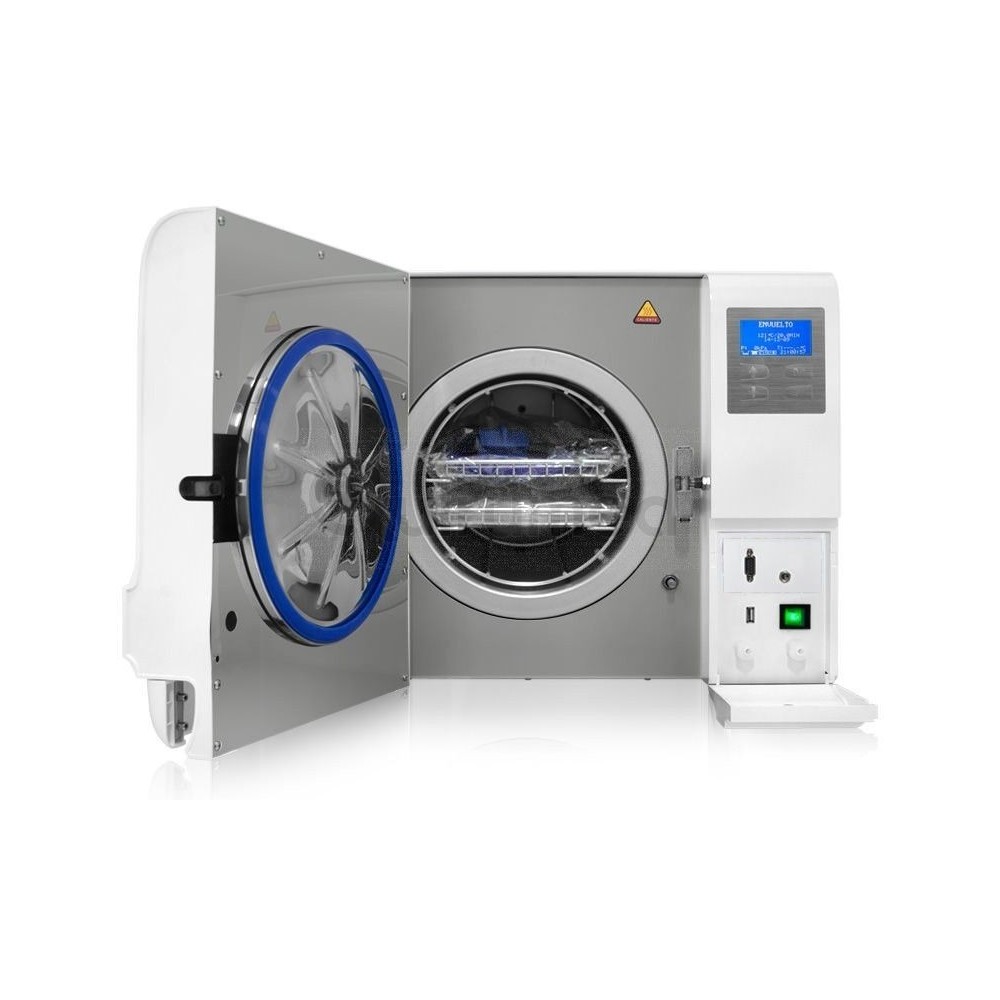
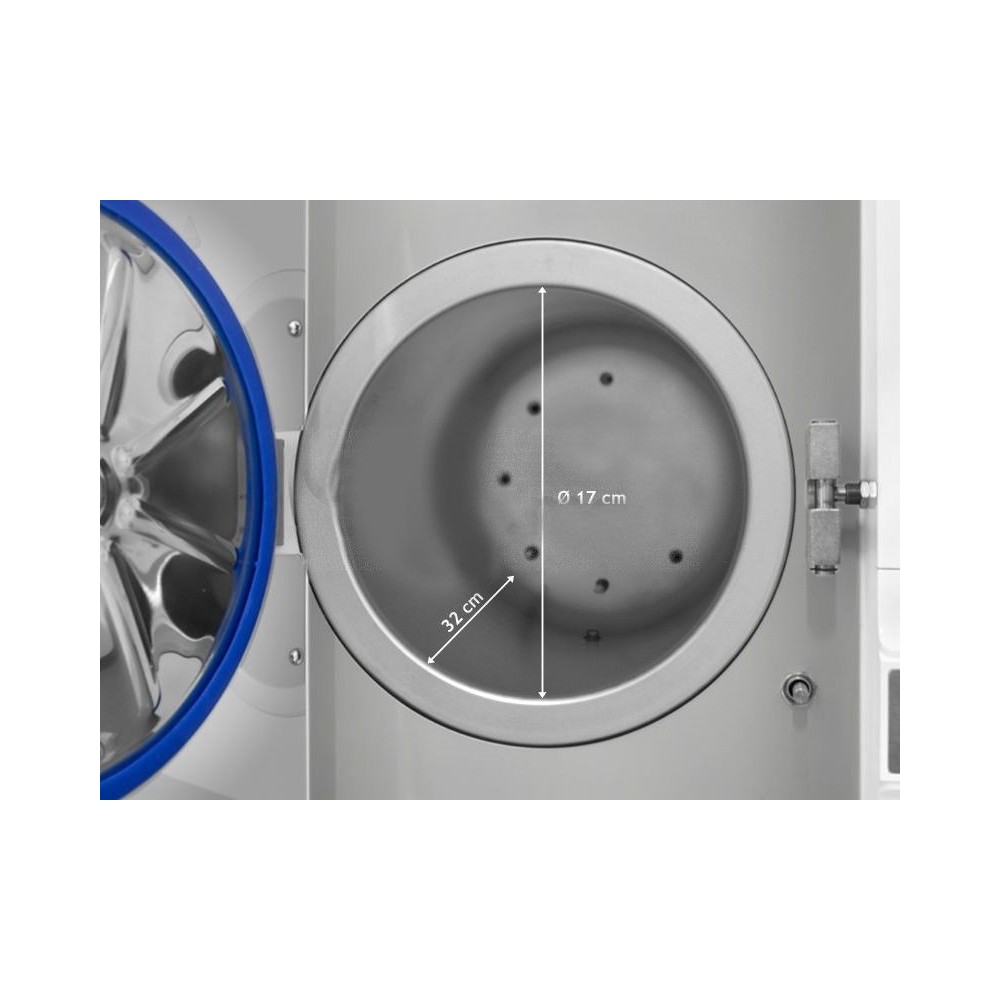
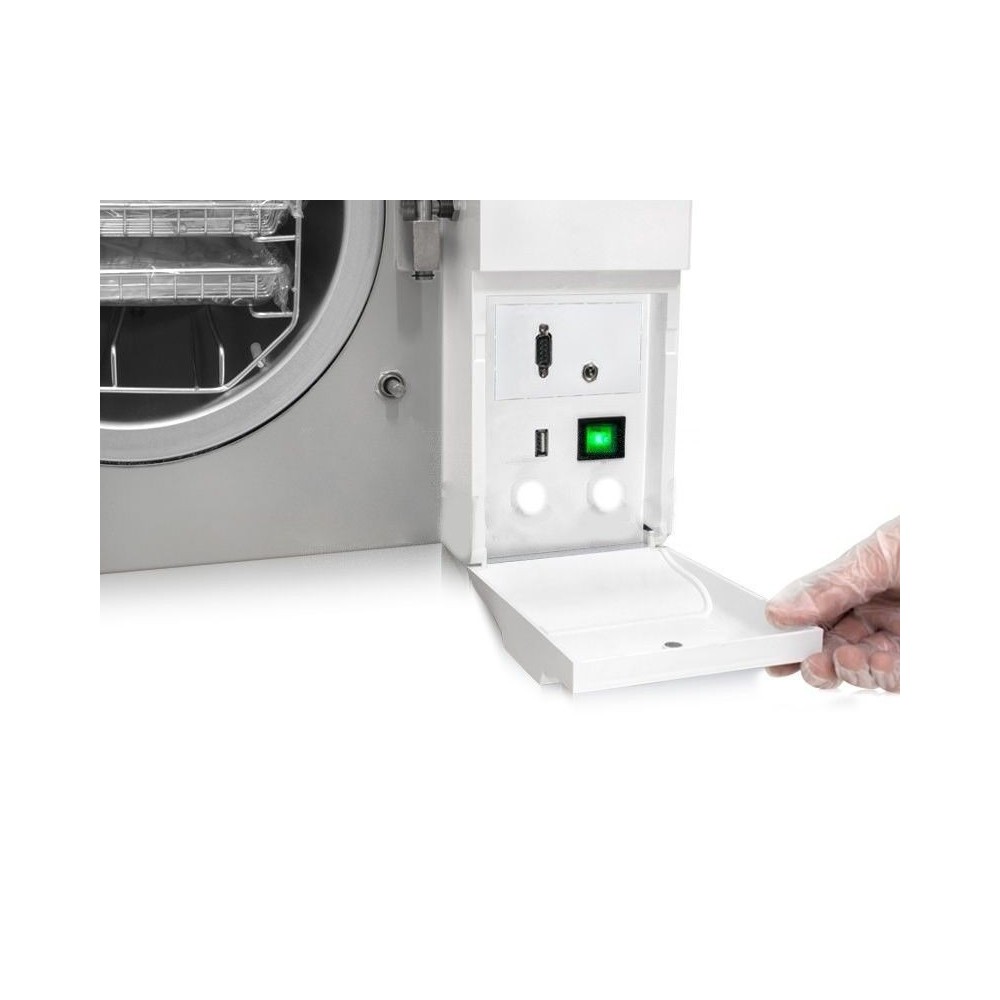
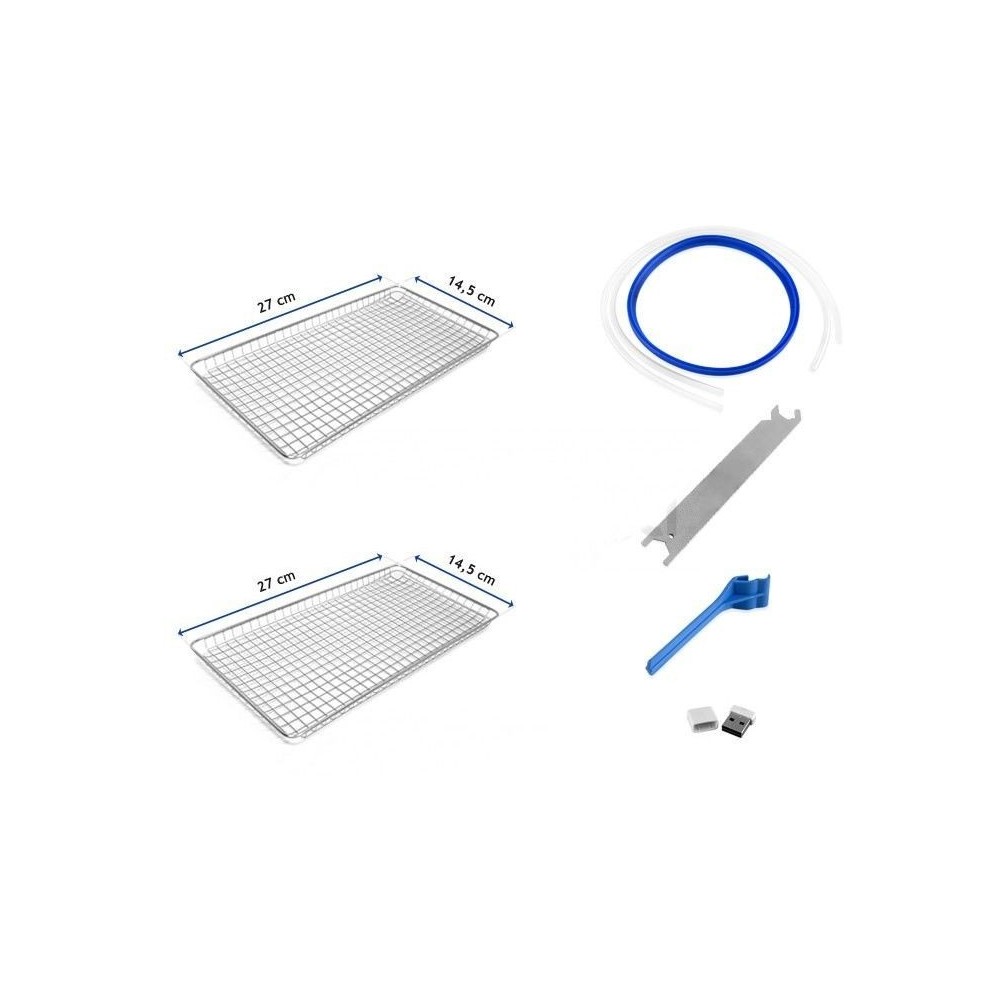
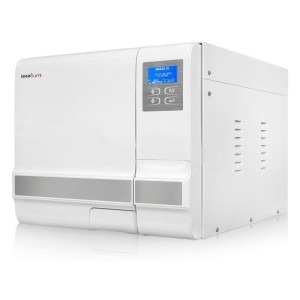
8 liter class b autoclave with usb and double safety lock.

REF: ES108A

ORDER ON REQUEST.

REQUEST BUDGET AND DATE OF SERVICE

Security:

  • A cycle will not start unless the door is securely closed.
  • Automated system with double hydraulic safety locking device, prevents the door from opening while the chamber is pressurized.
  • Safety valves prevent overpressure in the generator and chamber.
  • A safety thermostat prevents overheating in the chamber and the generator
  • An automatic safety lock prevents accidental opening of the door during the sterilization process. An electricity protector automatically cuts off the power if somewhere has a short circuit or the power supplier is not very stable.
  • Failure alarm, indicates a cycle failure and details the error code.
  • Door alarm, indicates that the door is not secured.
  • Low water alarm, indicates when the water tank is empty or too full.

Technical specifications:

  • Rated voltage: 220-240 VAC; 50/60hz; 10A
  • Chamber dimensions: 170 x 320mm
  • Circuit breaker: F16A/400V
  • Rated Power: 1500VA
  • 1500W
  • Sterilization temperature: 121 ºC / 134 ºC
  • Distilled water tank capacity: 2.5 L
  • Operating temperature: 5ºC / 40ºC
  • Operating Relative Humidity: Max. 80%, non-condensing
  • External dimensions: 414 x 365 x 530mm
  • Net weight: 34.5 Kg
  • Max noise level: <70 dB
  • Operating Atmospheric Pressure: 76 kPa / 106 kPa

Components:

  • distilled water tank
  • LCD screen
  • Control Panel
  • main switch
  • Drain tap for distilled and used water
  • USB port
  • Security valve
  • ventilation grill
  • Lock system
  • Power cord
  • Label

Accessories included:

  • Sterilizer
  • USB
  • 2 instrument trays
  • tray support
  • Tray extraction handle
  • door adjustment tool
  • 2 drain hoses
  • door seal
  • Manual

AUTOCLAVE PROCESS STEP BY STEP

  1. Open the door, take the instruments and accessories that are inside the sterilization chamber, remove the wrapper and proceed to clean them.
  2. Connect the power cord to a suitable power source.
  3. On: The main switch is located on the front-bottom right of the equipment. Once activated, the LCD screen will light up, where the basic operating icons of the sterilizer are shown, such as the position of the door, the water level, the sterilization program, the date, the time, etc.
  4. Fill the tank with distilled water. Remove the top cap of the tank and proceed to fill it, if you hear a signal, it means that the water level allowed in the tank has been exceeded, please stop immediately and drain the amount of water that is necessary for the signal to turn off.
  5. Preparation of the material to be sterilized:
    1. Place instruments that are of different material in different trays, however be sure to separate these prior to sterilization.
    2. If the instruments are not made of stainless steel, place sterilization paper between the tray and the instruments.
    3. Do not allow direct contact between instruments of different materials.
    4. Check that all instruments are in the correct position.
    5. Place instruments such as lenses, containers, tubes, etc. on the tray. in an inverted position, in such a way that no water pools inside them.
    6. Do not overload trays beyond their limit.
    7. Do not overlap the trays one on top of the other, or put them in direct contact with the wall of the sterilization chamber.
    8. Do not use metal clips or pins, this can jeopardize the operation of the sterilizer.
    9. Wrap the instruments one by one, in case several instruments need to be packed together, make sure that they are of the same material.
    10. Seal the wrap with special sterilization tape or use a heat sealer.
    11. Make sure that the sterilization bag is properly placed inside the chamber on the trays (resting on the plastic part).
  6. Select the sterilization program.
  7. Start the sterilization cycle. After having selected the sterilization program, insert the instruments into the chamber through the trays, using the supplied plastic handle. Once the instruments are inside the chamber, proceed to close the door by turning the knob. Caution: Be sure to turn the door knob to its maximum position, otherwise the sterilizer will alarm and you will not be able to start the program or it will stop during the cycle.
  8. Start the sterilization program. Press the start button, then the sterilizer will start working for approximately 30-75 minutes.
  9. Finished the sterilization cycle. Once the sterilization cycle is finished, the printer (optional) will print the complete report of the cycle automatically and the data will be saved in the USB memory (in .txt format). After the pressure drops to zero, you can open the door and remove the instruments. The sterilizer will alert by means of an audible signal once the sterilization cycle is finished. Caution: Whenever removing instruments, use the supplied plastic handle to support the trays.

IMPORTANT: Do not reuse the water from the residual tank.

Facility:

  • There should be at least 10 cm of free space around the sterilizer, 25 cm at the top, and enough space for the door to open fully.
  • The place where the sterilizer operates must have adequate ventilation.
  • The sterilizer must be placed on a table resistant to weight and at a suitable level for handling.
  • Do not cover or block the side outlets or the condenser fan air outlet grill.
  • Do not locate the sterilizer near water sources where it can be splashed.
  • Keep it away from other sources of heat.

ES108A - 8 Liters class B autoclave with USB and double safety lock.

ORDER ON REQUEST.

REQUEST BUDGET AND DATE OF SERVICE

More product information
 
Included taxes
Out-of-Stock
Notify me when available
Free shipping

From 121€

Online payment

100% safe

REF: ES108A

ORDER ON REQUEST.

REQUEST BUDGET AND DATE OF SERVICE

Security:

  • A cycle will not start unless the door is securely closed.
  • Automated system with double hydraulic safety locking device, prevents the door from opening while the chamber is pressurized.
  • Safety valves prevent overpressure in the generator and chamber.
  • A safety thermostat prevents overheating in the chamber and the generator
  • An automatic safety lock prevents accidental opening of the door during the sterilization process. An electricity protector automatically cuts off the power if somewhere has a short circuit or the power supplier is not very stable.
  • Failure alarm, indicates a cycle failure and details the error code.
  • Door alarm, indicates that the door is not secured.
  • Low water alarm, indicates when the water tank is empty or too full.

Technical specifications:

  • Rated voltage: 220-240 VAC; 50/60hz; 10A
  • Chamber dimensions: 170 x 320mm
  • Circuit breaker: F16A/400V
  • Rated Power: 1500VA
  • 1500W
  • Sterilization temperature: 121 ºC / 134 ºC
  • Distilled water tank capacity: 2.5 L
  • Operating temperature: 5ºC / 40ºC
  • Operating Relative Humidity: Max. 80%, non-condensing
  • External dimensions: 414 x 365 x 530mm
  • Net weight: 34.5 Kg
  • Max noise level: <70 dB
  • Operating Atmospheric Pressure: 76 kPa / 106 kPa

Components:

  • distilled water tank
  • LCD screen
  • Control Panel
  • main switch
  • Drain tap for distilled and used water
  • USB port
  • Security valve
  • ventilation grill
  • Lock system
  • Power cord
  • Label

Accessories included:

  • Sterilizer
  • USB
  • 2 instrument trays
  • tray support
  • Tray extraction handle
  • door adjustment tool
  • 2 drain hoses
  • door seal
  • Manual

AUTOCLAVE PROCESS STEP BY STEP

  1. Open the door, take the instruments and accessories that are inside the sterilization chamber, remove the wrapper and proceed to clean them.
  2. Connect the power cord to a suitable power source.
  3. On: The main switch is located on the front-bottom right of the equipment. Once activated, the LCD screen will light up, where the basic operating icons of the sterilizer are shown, such as the position of the door, the water level, the sterilization program, the date, the time, etc.
  4. Fill the tank with distilled water. Remove the top cap of the tank and proceed to fill it, if you hear a signal, it means that the water level allowed in the tank has been exceeded, please stop immediately and drain the amount of water that is necessary for the signal to turn off.
  5. Preparation of the material to be sterilized:
    1. Place instruments that are of different material in different trays, however be sure to separate these prior to sterilization.
    2. If the instruments are not made of stainless steel, place sterilization paper between the tray and the instruments.
    3. Do not allow direct contact between instruments of different materials.
    4. Check that all instruments are in the correct position.
    5. Place instruments such as lenses, containers, tubes, etc. on the tray. in an inverted position, in such a way that no water pools inside them.
    6. Do not overload trays beyond their limit.
    7. Do not overlap the trays one on top of the other, or put them in direct contact with the wall of the sterilization chamber.
    8. Do not use metal clips or pins, this can jeopardize the operation of the sterilizer.
    9. Wrap the instruments one by one, in case several instruments need to be packed together, make sure that they are of the same material.
    10. Seal the wrap with special sterilization tape or use a heat sealer.
    11. Make sure that the sterilization bag is properly placed inside the chamber on the trays (resting on the plastic part).
  6. Select the sterilization program.
  7. Start the sterilization cycle. After having selected the sterilization program, insert the instruments into the chamber through the trays, using the supplied plastic handle. Once the instruments are inside the chamber, proceed to close the door by turning the knob. Caution: Be sure to turn the door knob to its maximum position, otherwise the sterilizer will alarm and you will not be able to start the program or it will stop during the cycle.
  8. Start the sterilization program. Press the start button, then the sterilizer will start working for approximately 30-75 minutes.
  9. Finished the sterilization cycle. Once the sterilization cycle is finished, the printer (optional) will print the complete report of the cycle automatically and the data will be saved in the USB memory (in .txt format). After the pressure drops to zero, you can open the door and remove the instruments. The sterilizer will alert by means of an audible signal once the sterilization cycle is finished. Caution: Whenever removing instruments, use the supplied plastic handle to support the trays.

IMPORTANT: Do not reuse the water from the residual tank.

Facility:

  • There should be at least 10 cm of free space around the sterilizer, 25 cm at the top, and enough space for the door to open fully.
  • The place where the sterilizer operates must have adequate ventilation.
  • The sterilizer must be placed on a table resistant to weight and at a suitable level for handling.
  • Do not cover or block the side outlets or the condenser fan air outlet grill.
  • Do not locate the sterilizer near water sources where it can be splashed.
  • Keep it away from other sources of heat.
Autoclave 8 Litros clase B

8 liter class B autoclave with USB and double safety lock.